There only very few things for which I have zero tolerance. Flat tires is one of them. There is nothing in the world that kills the joy of riding a bicycle faster than a flat tire. Especially when you are going down a big hill and your freshly-installed tire was not properly seated on the rim. And you used a slime tube...

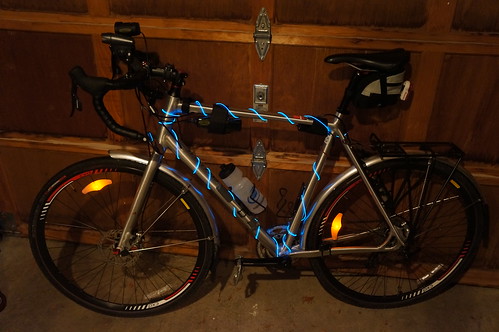
Tube failure due to improper tire seating
I spent my High School days in eastern Washington and was introduced to this little nuisance...

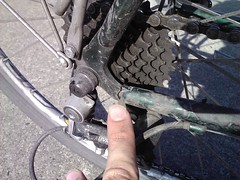
They can get REALLY bad, as Pat from 26InchSlicks found out...

Pat pulling dozens of thorns out of a fat tire using pliers.
Needless to say that when you are riding in eastern Washington State you ride with tire protection or you don't ride. Or at least you don't ride very far. That is Tribulus terrestris, commonly known as tackweed or goathead thistle. They REALLY hurt when you step on them barefoot.
So one day I was ranting about how much I hate flats and a friend at work introduced me to Schwalbe Marathon tires. They claim to be the only "flat-less" tire on the market, with the Marathon Plus model sporting an incredible 5mm of rubber between the tire surface and the tube. They even go to great lengths to prove how tough their tires can be...
So I picked up a set for my old mountain bike and started using them for daily commuting. For years I had ZERO flats.
In 2012 when I switched over from my 1993 Schwinn High Plains to a Specialized TriCross, I bought new Marathon Plus tires (700x35) to go with it and quickly ditched the really bad stock tires. And things went fine. These tires are AWESOME!
Until...
I was riding to work in the rain a few months ago and suddenly heard a quick "whoosh" sound, followed immediately by the unmistakable feeling of a flat rear tire. Luckily I was only going 15 MPH at the time and easily pulled over on the wide shoulder. A mile later I would have been doing 35-40 MPH down a very steep hill. Thankfully, I was unhurt.
It didn't take me long to find the reason for the leak: a MASSIVE hole cut in the tread. !?!?!

1.5" slice in my rear tire!
What could make such a hole? How did I NOT see it?
It didn't take long to find the culprit.

The Husky Sure-Grip Folding Lock Back Utility Knife
There is was on the road... a Husky Sure-Grip Folding Lock Back Utility Knife. You can buy them on Amazon for $11. They are a favorite tool among construction workers, landscapers, and anyone who routinely opens boxes (retail or warehouse workers). It was obvious by the damaged handle that the knife had been run-over several times by cars/trucks and had seen better days. So I picked it up and walked home.
Upon closer inspection I found the hole was impressively deep: even the tube had a 1" hole sliced into it.

I quickly swapped out with a new tire/tube and was back on the road in about 20 minutes.
Moral of the story: even the most armored tired cannot survive EVERYTHING. And I still have no idea how I didn't see that knife on the road before I hit it.
And who drops a box cutting razor knife in the road anyway? (probably fell off the back of a truck) A $14 knife carelessly dropped in the middle of the road cost me a $65 tire.
"Wait a minute, Lee... You just happened to have another Schwalbe Marathon Plus tire ready to swap out?"
Yes, I did. I have this nasty habit of pre-buying replacement parts for things that experience normal wear and tear. My garage contains a small stock of chains, cassettes, tires, and tubes for all my family's bikes. Remember my post about buying on the cheap? Buying ahead of need saves me a lot of money in the long run.